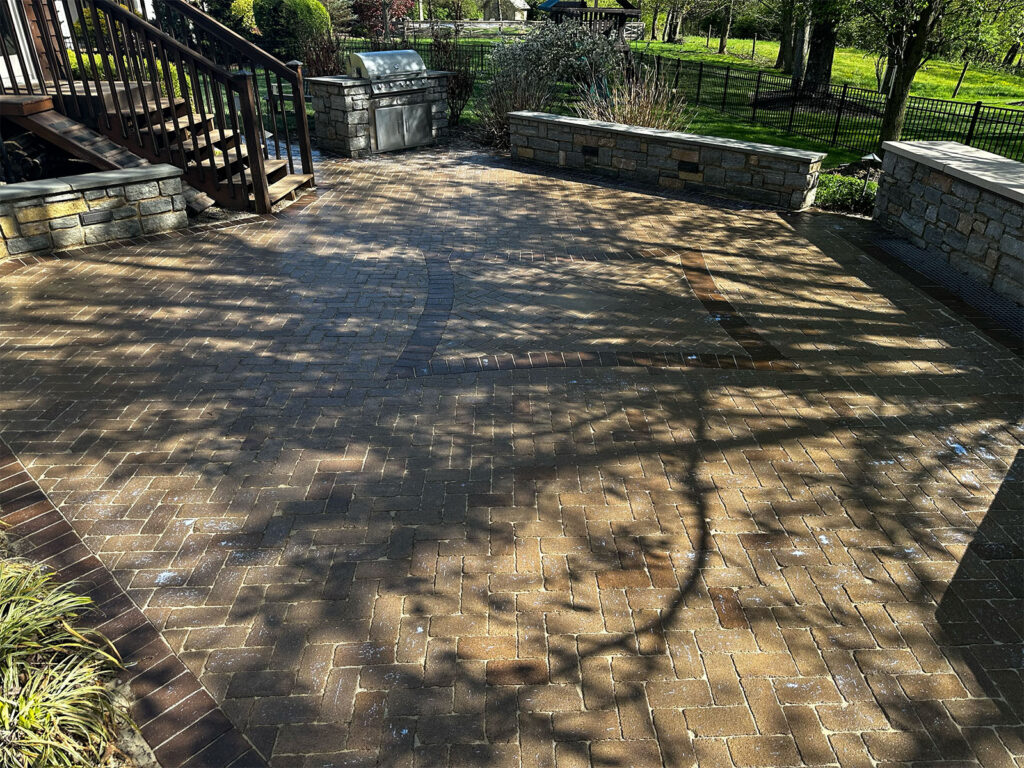
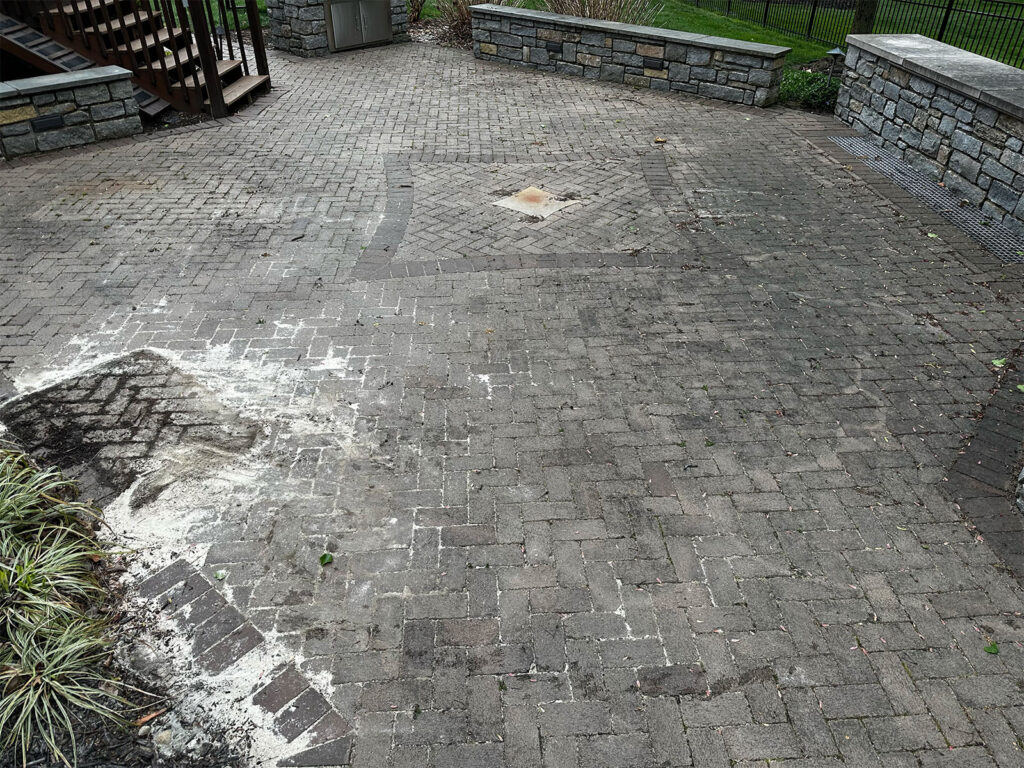
Your patio is more than just an outdoor space – it’s an extension of your home where you gather with family and friends, relax, and enjoy the outdoors. Over time, dirt, grime, mold, and mildew can build up on your patio surface, detracting from its beauty and making it less inviting. That’s where pressure washing comes in. With the right techniques and equipment, you can restore your patio to its former glory and make it look like new again. We’ll guide you through the process pressure wash your patio like a pro in five easy steps.
Step 1: Preparation
Before you pressure wash your patio, it’s essential to prepare the area properly. Start by removing any furniture, plants, and other objects from the patio surface. Sweep away loose debris and use a leaf blower to clear away any remaining dirt and leaves. Cover nearby plants and delicate surfaces with plastic sheeting or tarps to protect them from overspray.
Step 2: Choose the Right Pressure Washer and Nozzle
Selecting the appropriate pressure washer and nozzle is key to achieving optimal results without causing damage to your patio surface. For most patio cleaning tasks, a medium-duty electric pressure washer with a maximum pressure of around 2000-3000 PSI is sufficient. Choose a nozzle with a wide spray pattern, such as a 25-degree or 40-degree nozzle, to cover larger areas efficiently without causing damage.
Step 3: Apply Detergent
Before you start pressure washing, it’s a good idea to apply a detergent or cleaning solution to help loosen stubborn dirt, grime, and stains. Use a mild detergent specifically formulated for pressure washers and dilute it according to the manufacturer’s instructions. Apply the detergent evenly to the patio surface using a low-pressure setting on your pressure washer, ensuring thorough coverage.
Step 4: Pressure Wash your Patio Surface
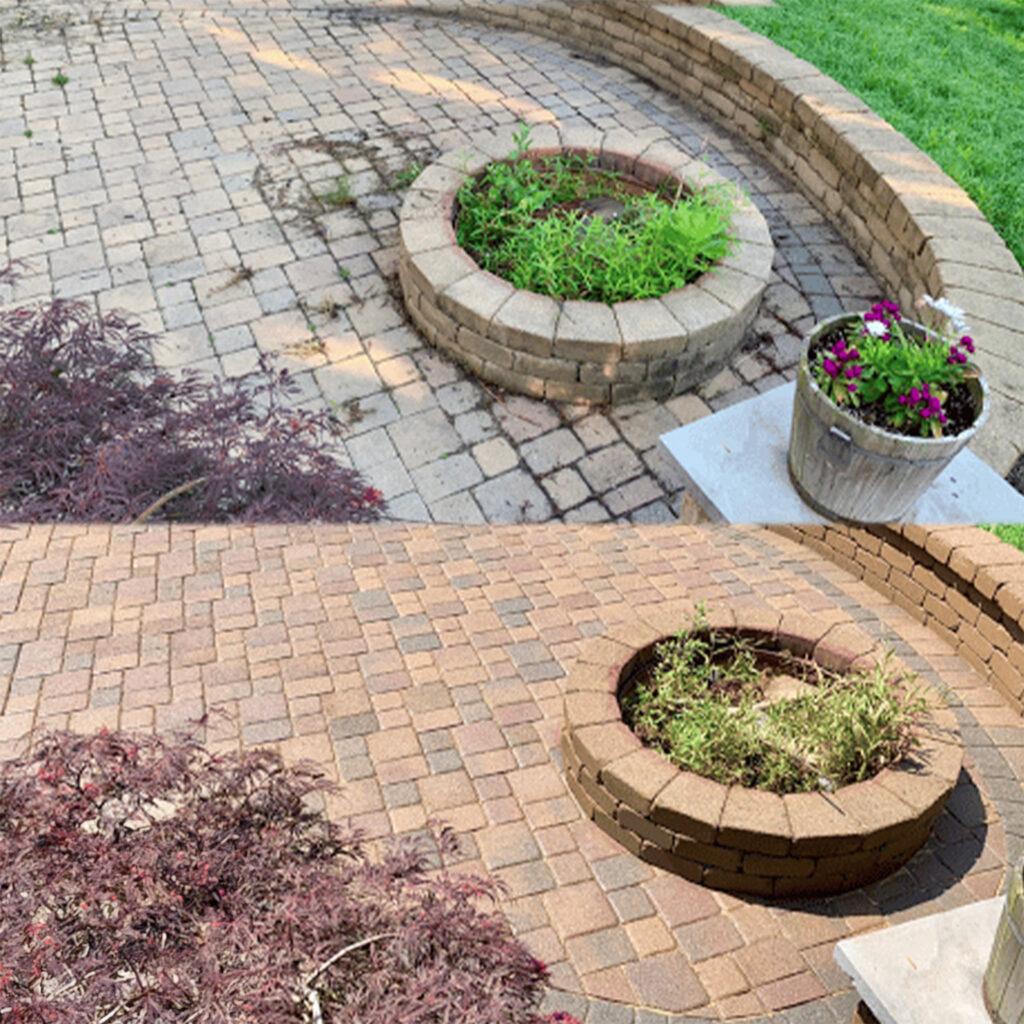
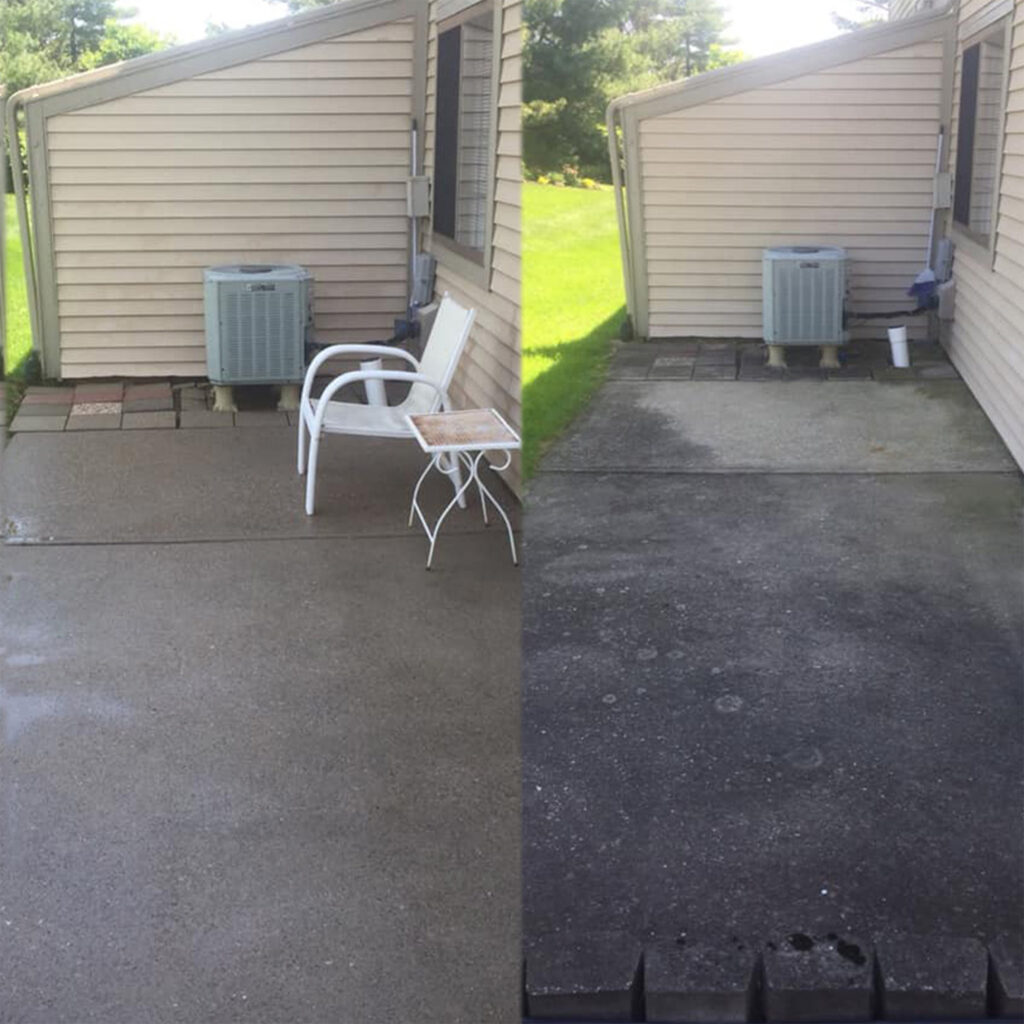
Once the detergent has had time to penetrate and loosen the dirt and grime, it’s time to pressure wash the patio surface. Start at one end of the patio and work your way methodically across the entire area, overlapping each pass slightly to ensure even coverage. Hold the pressure washer wand at a consistent distance from the surface, typically around 12-18 inches, and maintain a steady, sweeping motion to avoid streaks or lines.
Step 5: Rinse and Finishing Touches
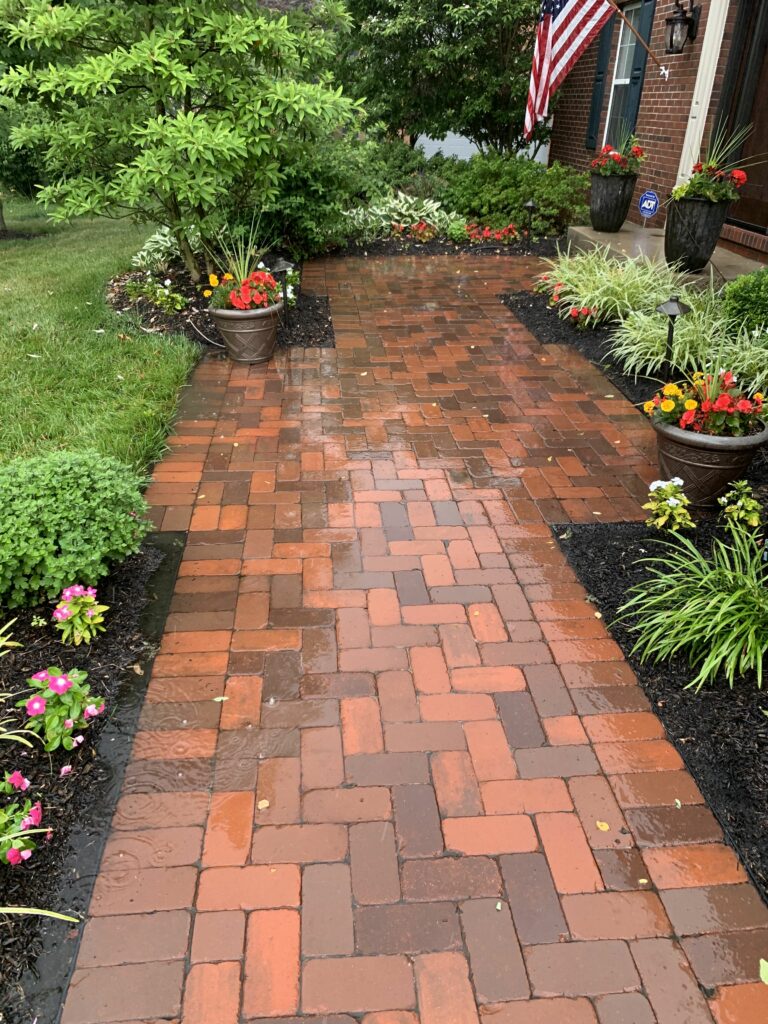
After you’ve pressure washed the entire patio surface, it’s important to rinse away any remaining detergent and debris thoroughly. Switch to a clean water nozzle or adjust the pressure washer settings to rinse mode and go over the patio surface once more, ensuring that all traces of detergent are removed. Take care to rinse away any excess water to prevent puddling and streaking. Once the patio surface is clean and dry, you can replace any furniture and accessories and enjoy your newly r
Or… Leave it to The Professionals
Hiring a professional to pressure wash your patio offers advantages over attempting the task yourself. Professionals have the expertise and experience to assess the specific cleaning needs of your patio, ensuring that the correct pressure and techniques are used to avoid damaging the surface. They also have access to commercial-grade equipment and non-toxic cleaners that provide a deeper, more thorough clean while being safe for your family, pets, and the environment.
Using a professional saves you time and effort, allowing you to enjoy a pristine patio without the hassle and potential risks associated with DIY pressure washing. Investing in a professional service ensures optimal results and prolongs the life of your patio.evitalized outdoor space.
If you’re unsure or prefer to leave it to the experts, Liberty Power Wash is here to help. Our experienced technicians are equipped with the knowledge, skills, and equipment to tackle any patio cleaning project efficiently and effectively. Contact us today to schedule your professional patio pressure washing service and take the first step toward enjoying a clean and inviting outdoor space!
